Training Process
Open the model's details page (/custom-models/<id>) - uploading datasets and running training both happen here.
Datasets Section
Below the status banner is the Datasets section: a title with an info tooltip about dataset types, a caption, and a New dataset button on the right.
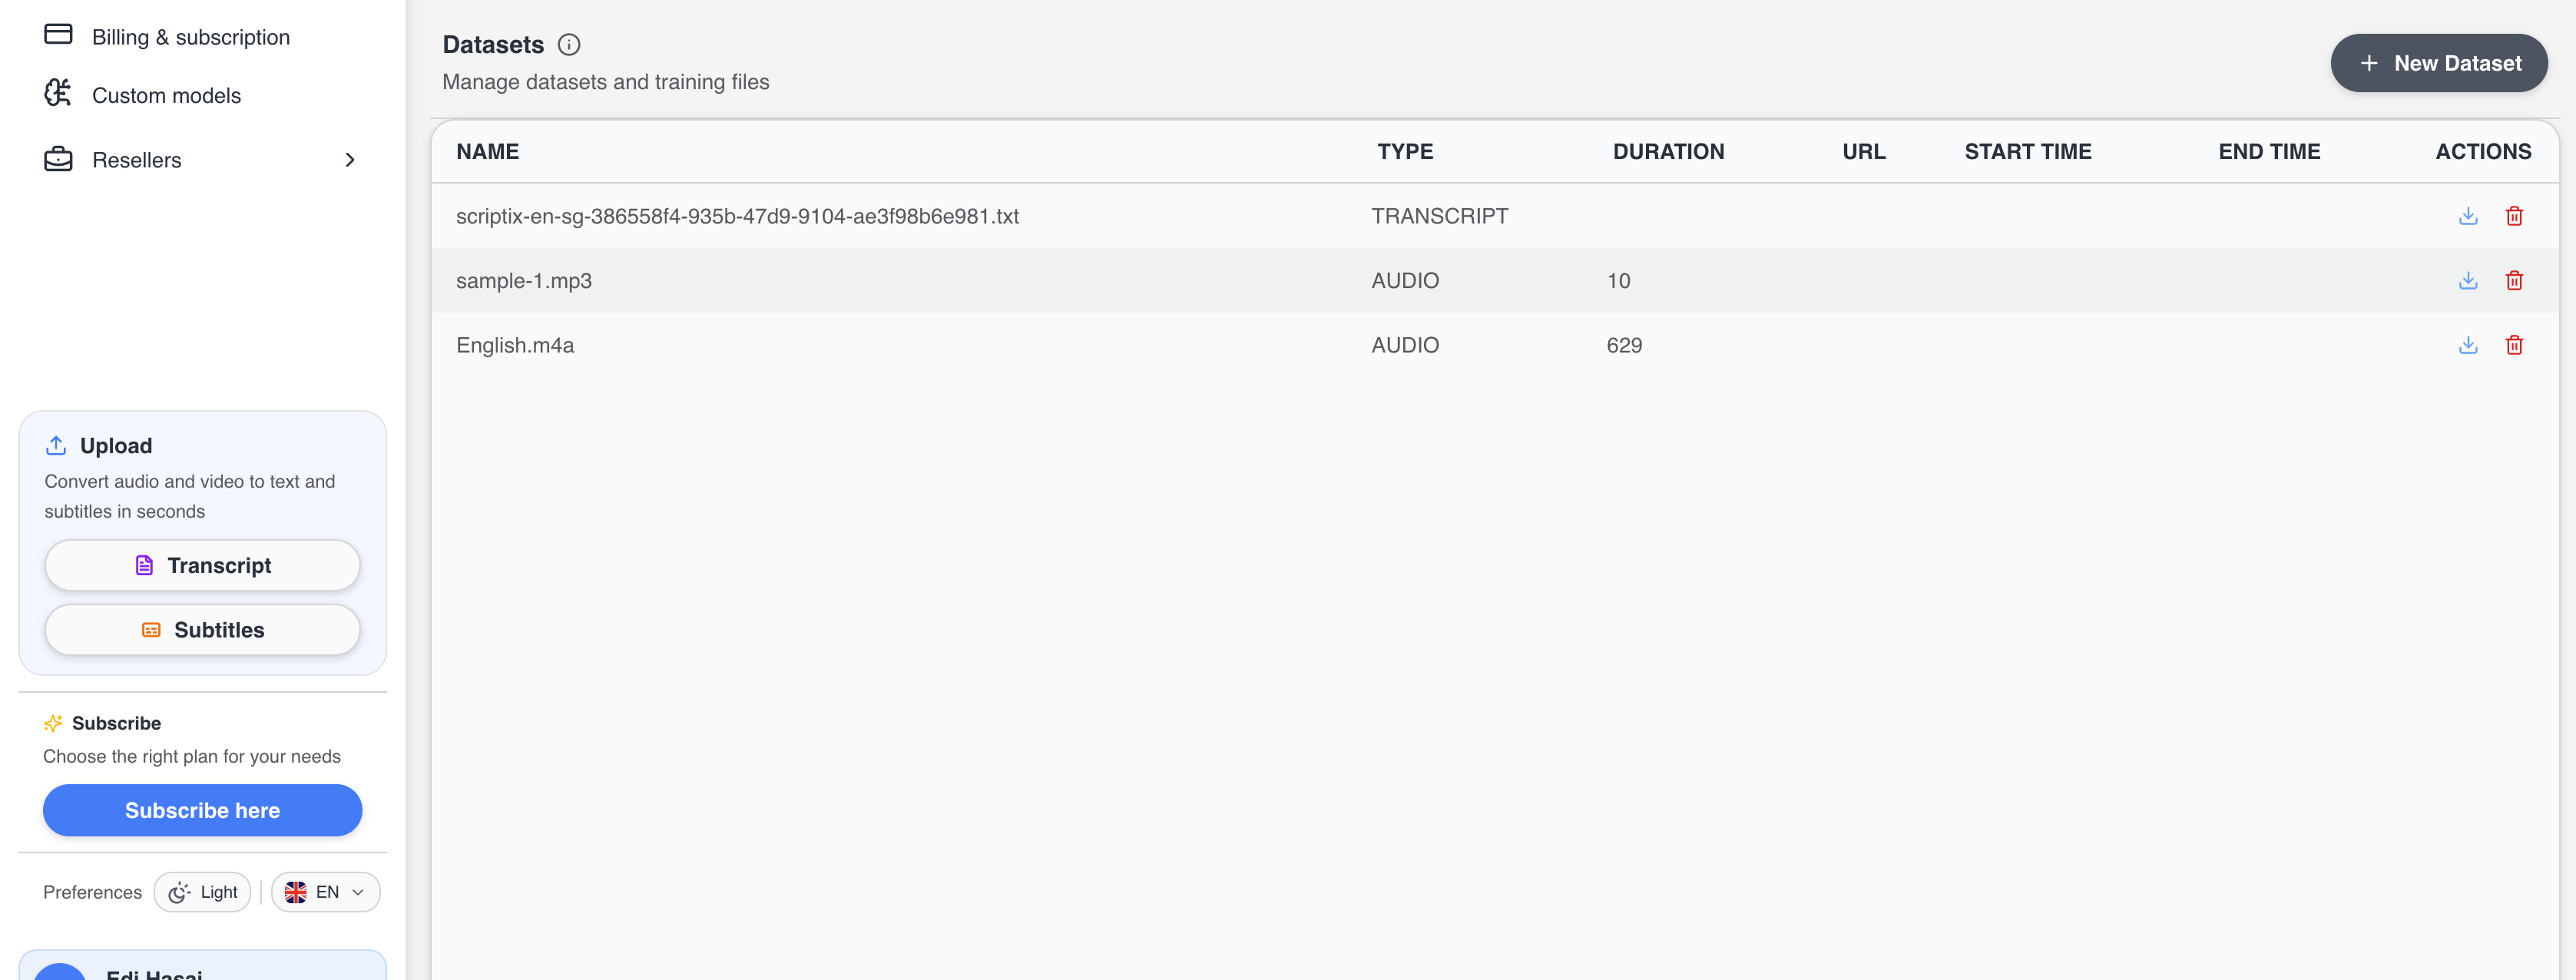 Section header - title, tooltip, New dataset button.
Upload a Dataset
Click New dataset. The dialog shows the model name and a Type selector with five options:
- Auto-detect (default) - the server picks the type per file from its extension.
- TRANSCRIPT - restricts the picker to transcript formats.
- TEST - same transcript formats, intended for validation data.
- AUDIO - restricts the picker to audio formats.
- MANIFEST - restricts the picker to
.jsonlmanifests.
Drag files into the dashed area or click Choose files. Each batch can have 1-10 files; you can keep adding more batches afterwards. The picker's accept attribute is set from your type choice (or the union of all formats on Auto-detect), so files outside the supported extensions can't be picked.
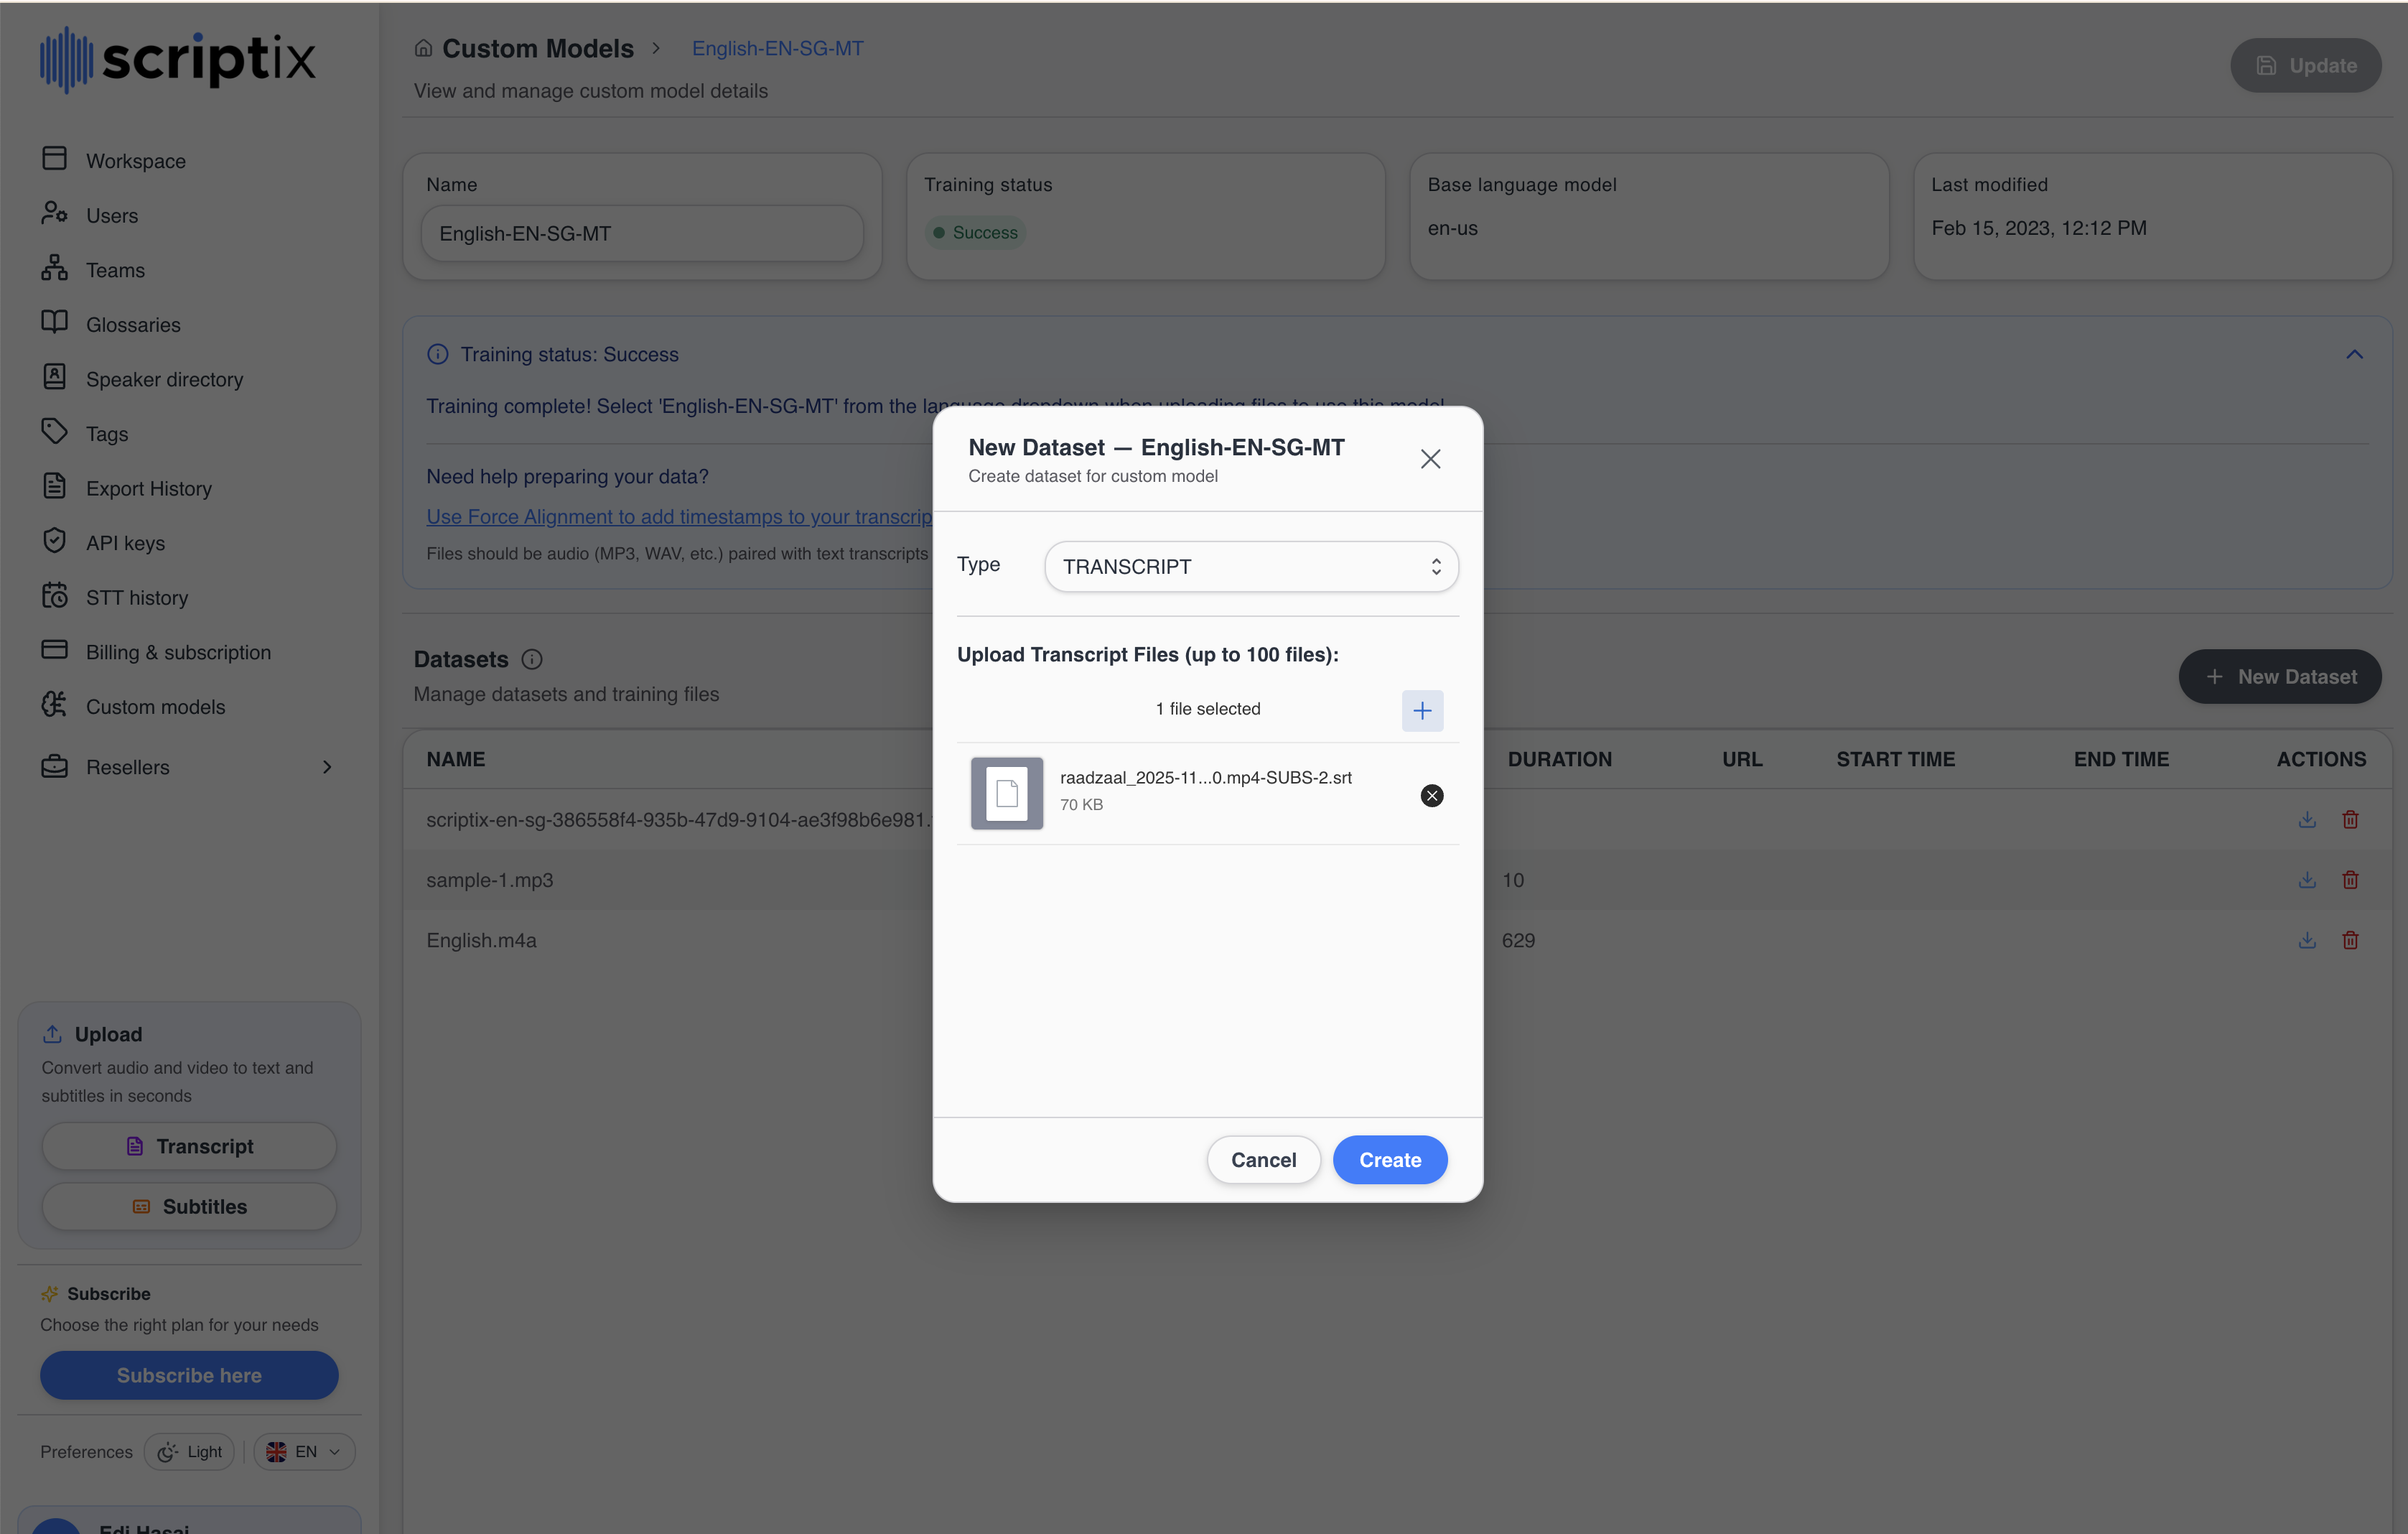 Type selector, drop area with files queued, Create button.
Click Create. The button shows Uploading... while the request runs; the type selector and Cancel are locked during the upload.
The upload goes in a single multipart PUT request - there is no chunking or resumable client. If the connection drops, retry the batch.
When the request finishes you get one toast:
- 1 file → Dataset uploaded successfully.
- N files → N files uploaded successfully.
- Failure → the error message returned by the server.
Supported Formats
- Audio:
.wav,.mp3,.m4a,.flac - Transcripts (TRANSCRIPT and TEST types):
.vtt,.srt,.txt - Manifest:
.jsonl
Datasets Table
Each uploaded file appears as a row with Name, Type, Duration, URL, Start time, End time. The Name cell copies the file name to your clipboard on click. The row menu has a single Delete action - confirm and you'll see a File deleted successfully toast.
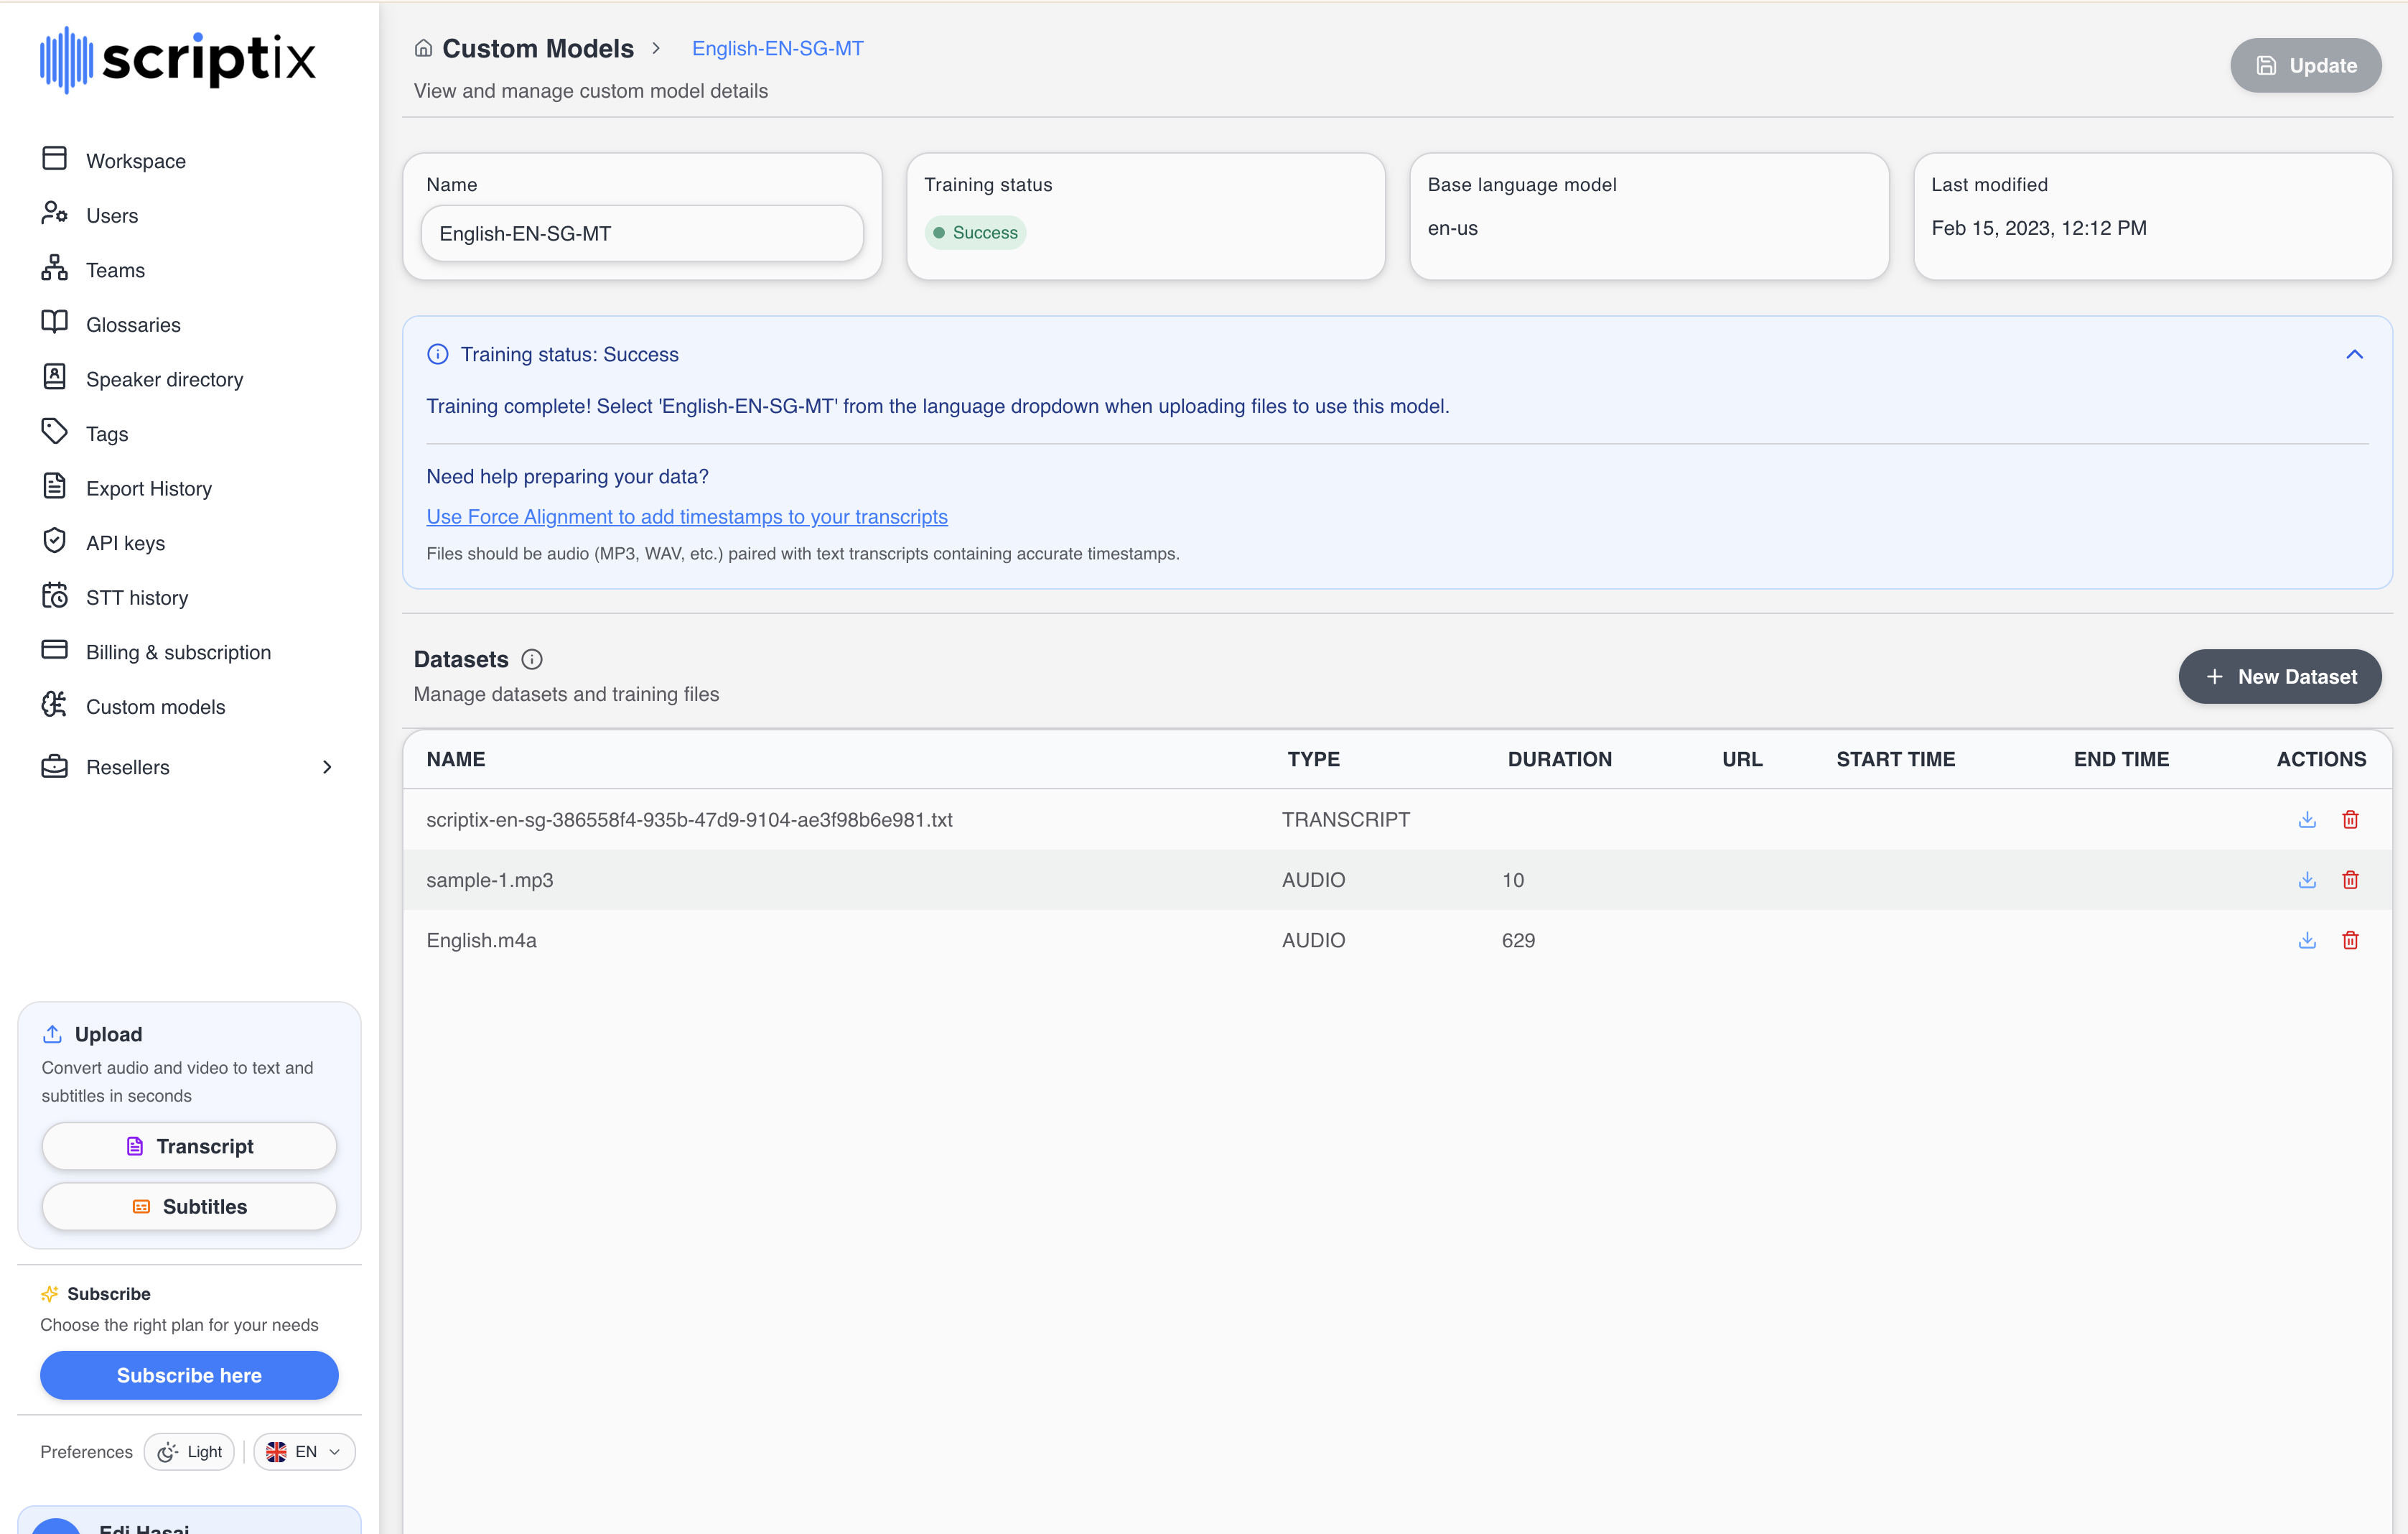 Uploaded dataset files.
Don't have timestamps in your transcripts? Use Force Alignment from the dashboard's Create button to add timestamps before uploading. The Need help preparing your data? link on the status banner takes you back to the dashboard.
Start Training
Click Train the language in the top right of the details page.
The button is only visible when the training status is Not running (1) or Failed (5). It is hidden for Ready to run (2), Running (3) and Success (4).
A confirmation dialog opens with the model's name and a warning that training uses your credits and the model can't be modified while it runs. Click Train to confirm.
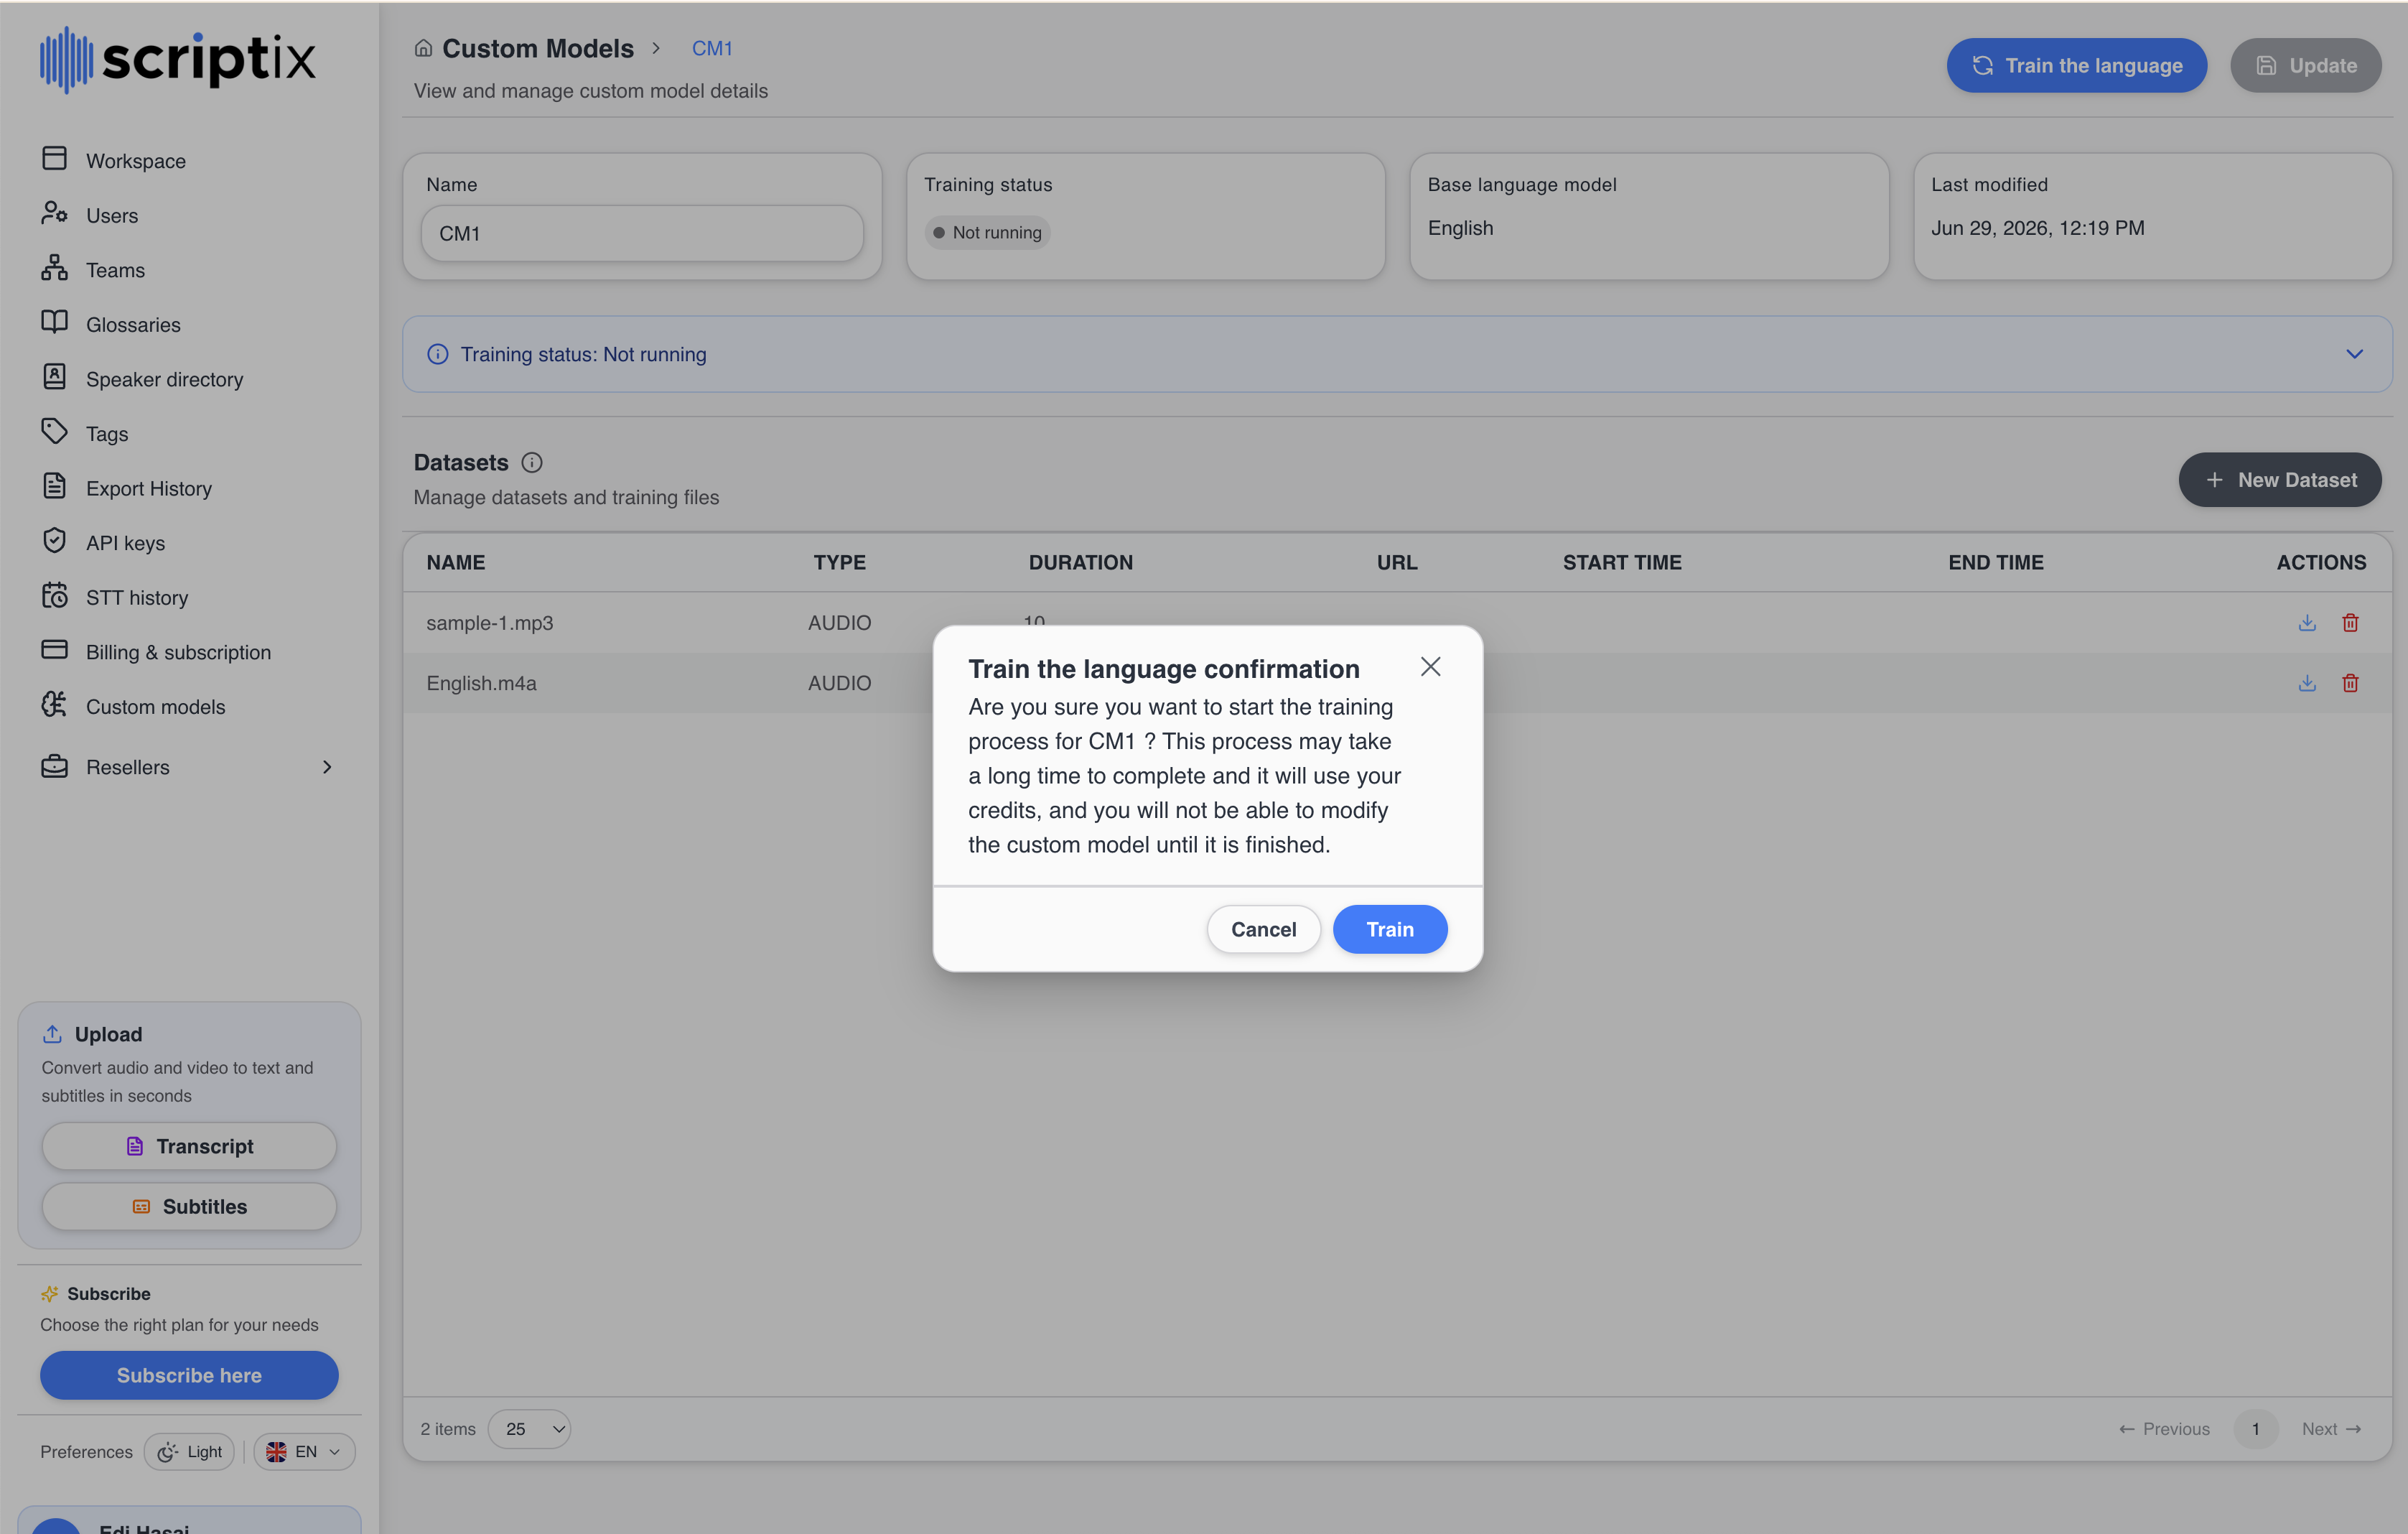 Confirmation dialog before training starts.
What Happens Next
- The panel calls validate (
POST /api/v3/custom_models/<id>/validate). If validation fails, the server's error message is shown as a toast and training does not start. - If validation passes, the panel calls train. On success you get a Training started successfully toast and the status updates on the next refresh (within 20 s).
Recognised Error Codes
The panel re-labels these codes from the server:
validation_failed- datasets don't meet the server-side training requirements.invalid_audio_format- at least one audio file uses an unsupported format.invalid_transcript_format- at least one transcript file uses an unsupported format.no-claims-available- your plan's training quota is exhausted.
Anything else is shown verbatim from the server's message / error_description.
Training Statuses
| Code | Label | Colour | What it means |
|---|---|---|---|
| 1 | Not running | grey | No training has started, or you can start a new one. |
| 2 | Ready to run | amber | Training is queued and will begin shortly. |
| 3 | Running | sky blue | Training in progress. May take several hours. |
| 4 | Success | green | Trained - the model is usable on new transcriptions. |
| 5 | Failed | red | Something went wrong. Review the datasets and try again. |
The status banner on the detail page shows a help message tailored to the current status. It auto-expands when the status is Success so the message that names your model is visible without a click.
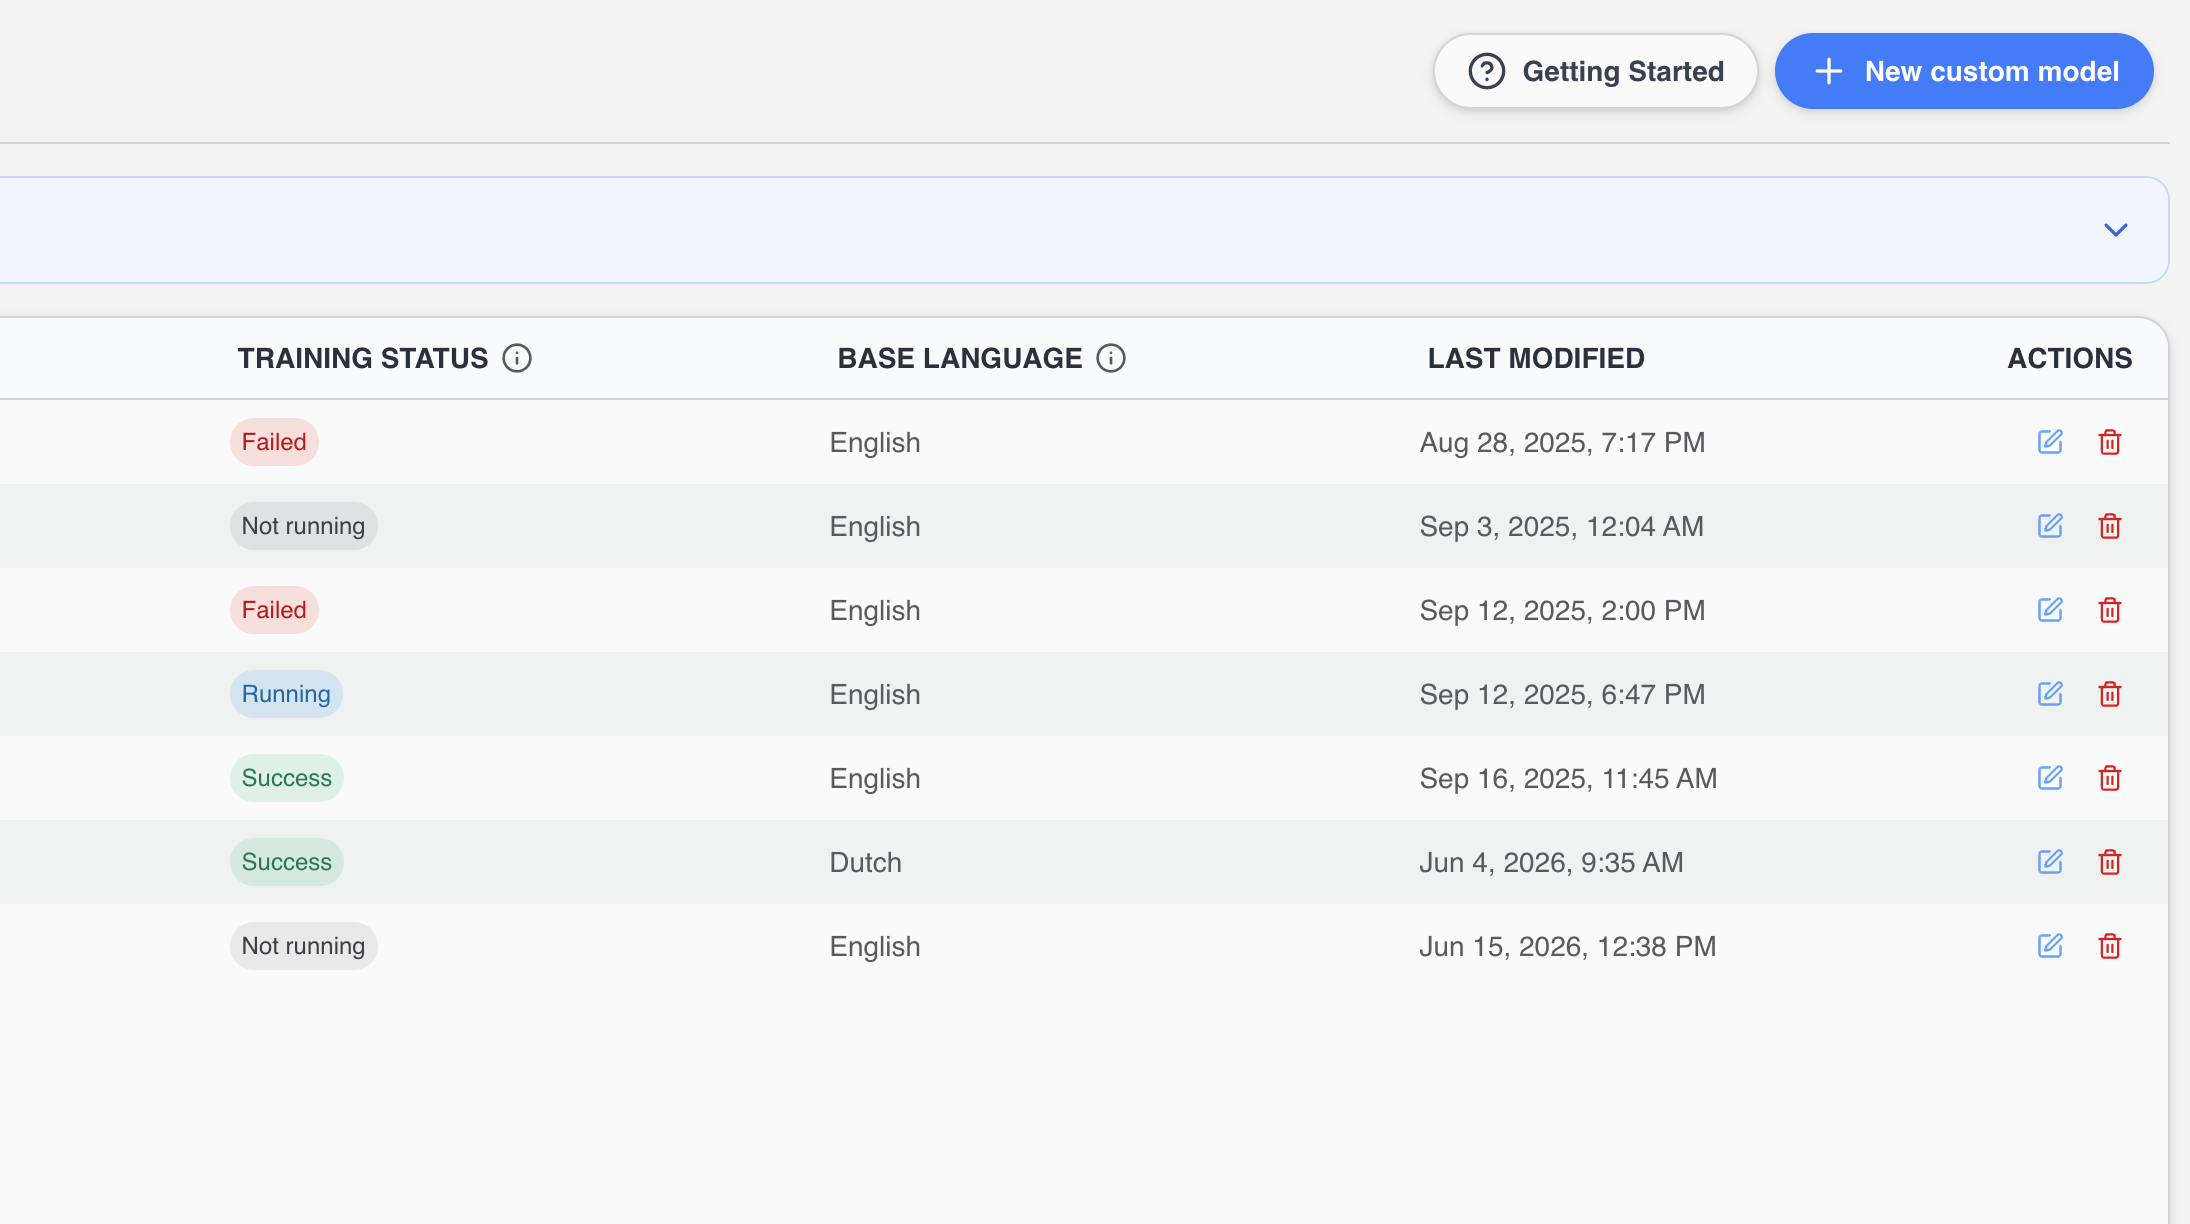 The five status badges.
Next Steps
- Use in Transcription - pick the trained model from the language dropdown.