Create Custom Model
Create the empty model first; you'll add training data and run training in the next step (Training Process).
Open the Dialog
On the Custom Models page, click New custom model in the header (or Create your first custom model in the empty state).
Fill the Form
The dialog has two required fields:
- Name - any label that helps you recognise the model later (e.g.
Cardiology dictation EN). - Language - the base language. Only trainable languages appear in this dropdown (the panel filters by
is_trainable: true).
The Create button stays disabled until both fields are filled and the create request isn't already in flight.
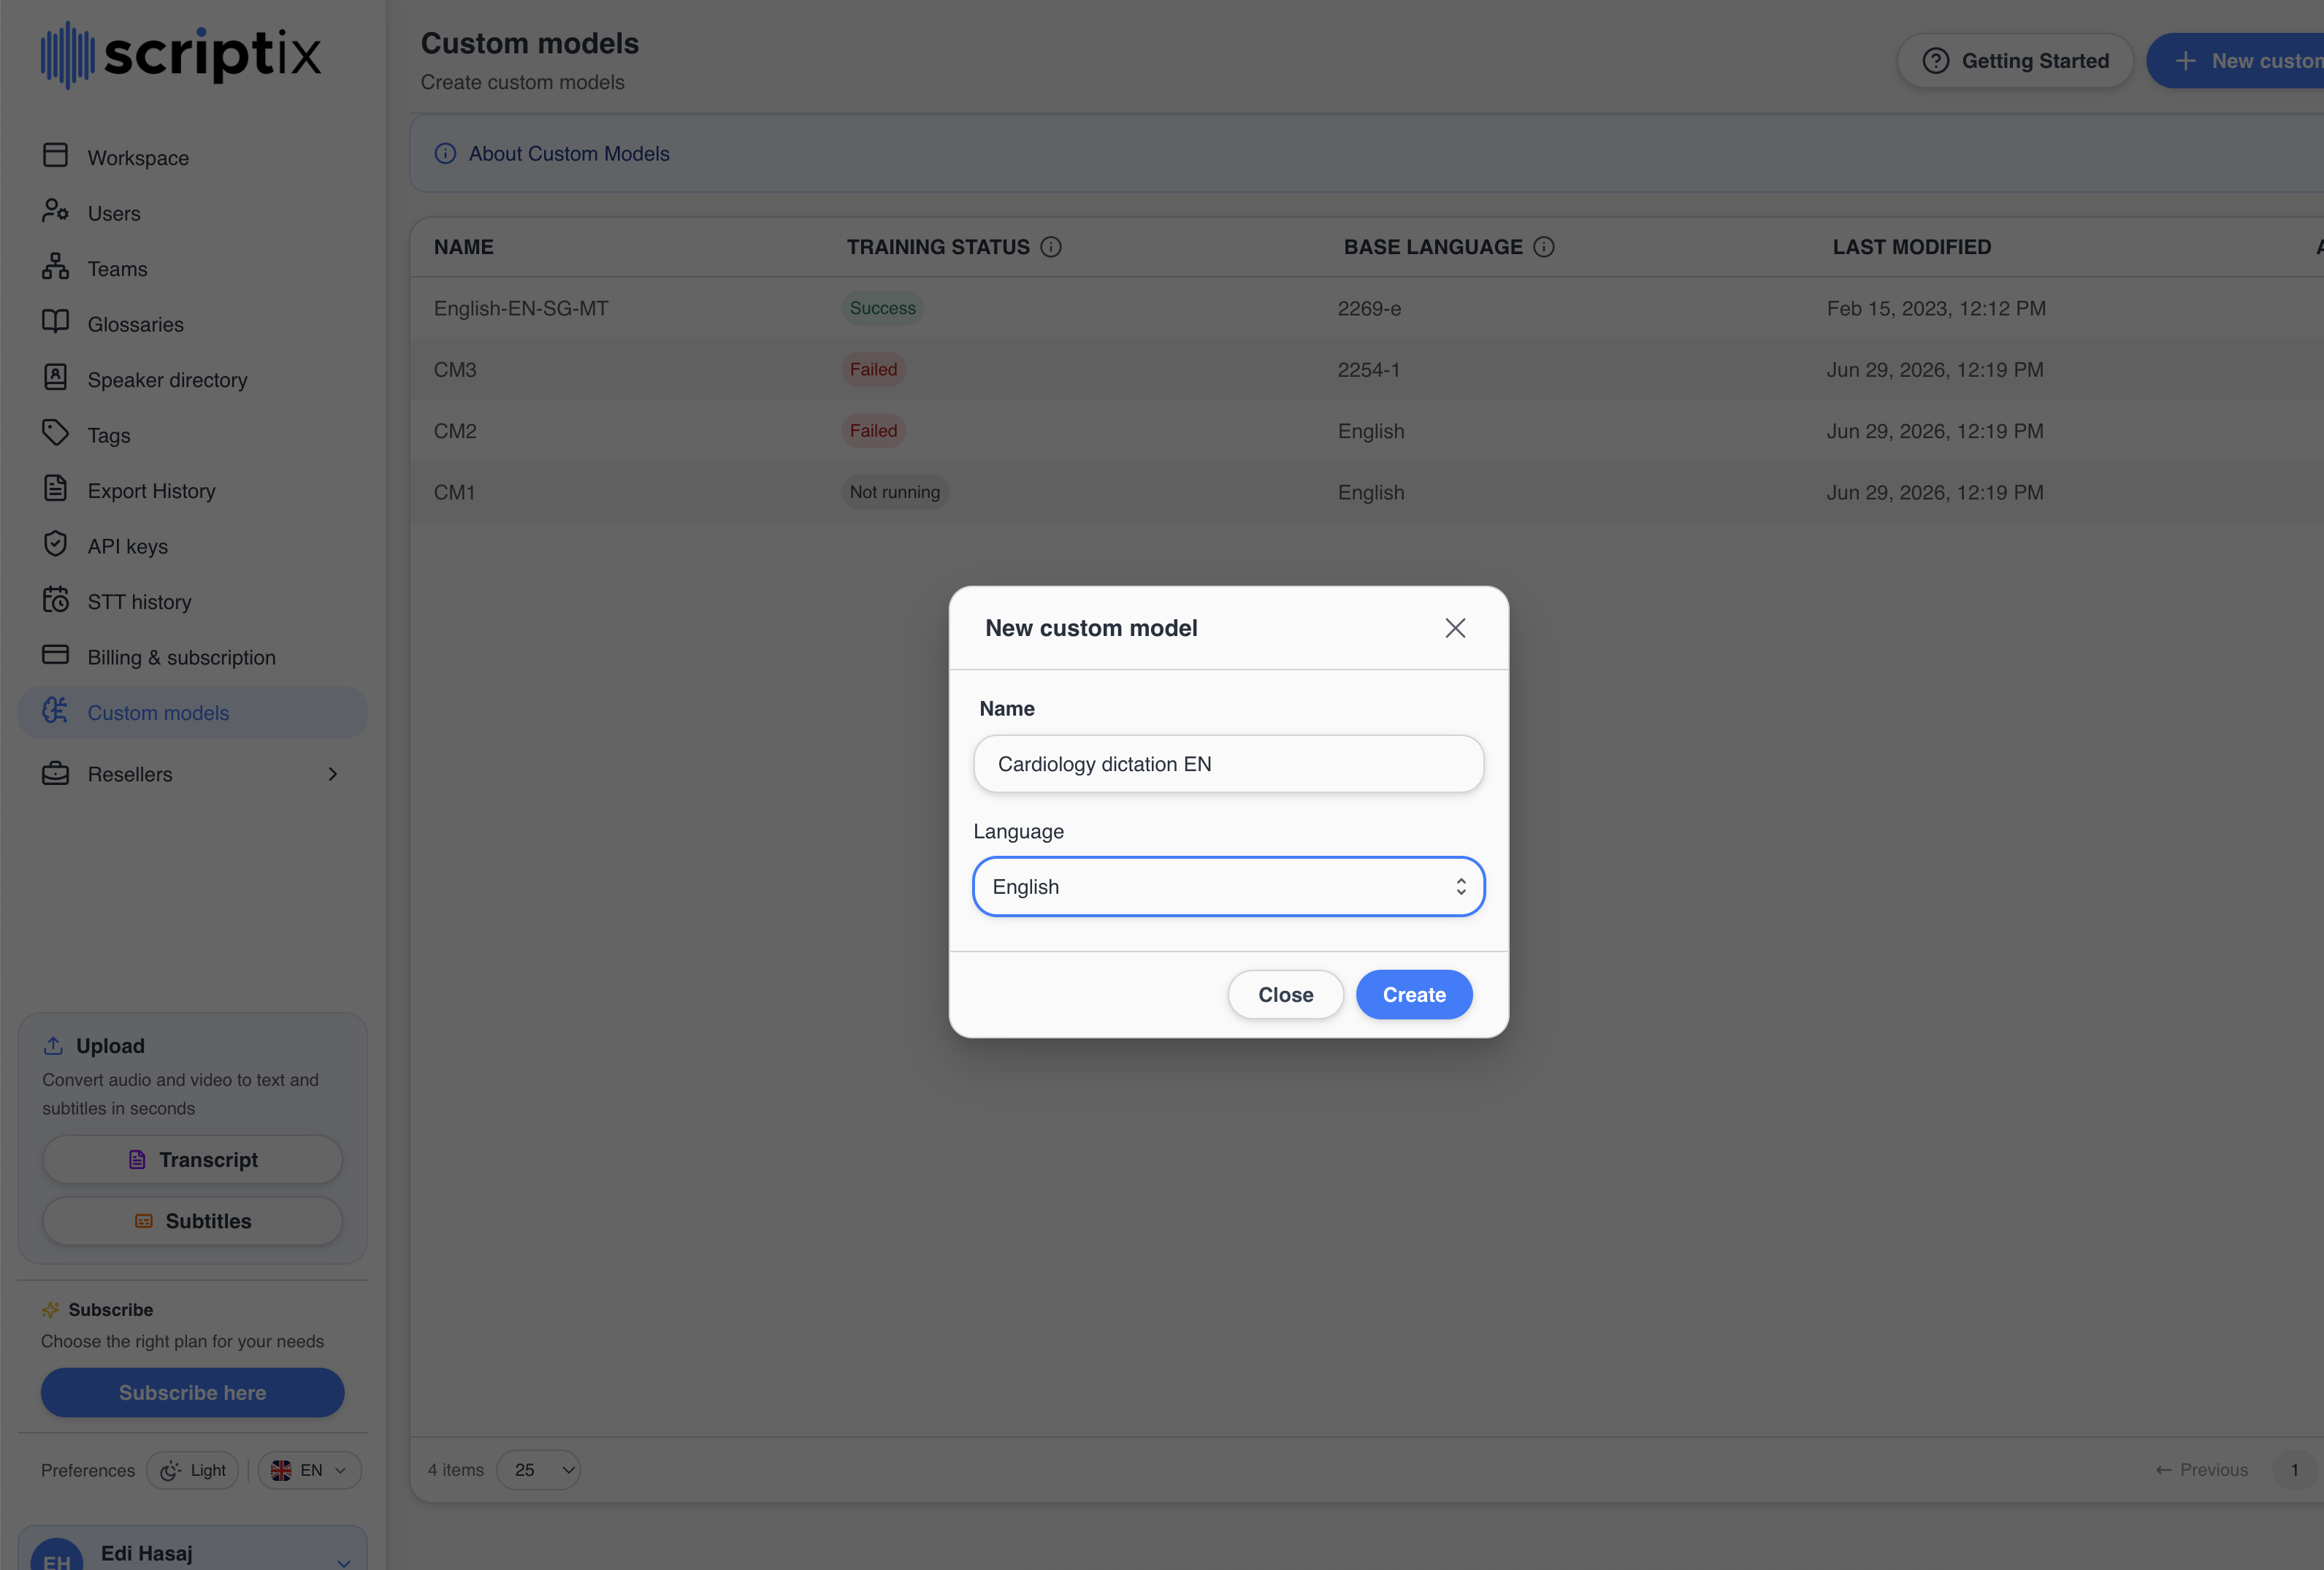 Name + Language fields, Close and Create actions.
On success a Custom model created successfully toast appears and the model shows up in the table with Training status: Not running and no datasets yet.
If the server rejects the request, the error message is shown in a toast.
Open a Model
Click the model's Name or Base language cell, or use the row's Edit action. This opens the model details page at /custom-models/<id>, with breadcrumbs back to the list.
The details page has four summary cards at the top:
- Name - editable inline.
- Training status - same badge as the list.
- Base language model - full language name (e.g. English (US)).
- Last modified - the last time anything changed on the model.
Right below the cards, an expandable Training status banner shows a help message tailored to the current status, plus a Need help preparing your data? section with a Force Alignment link. The banner auto-expands when the status is Success.
The detail page also auto-refreshes every 20 seconds.
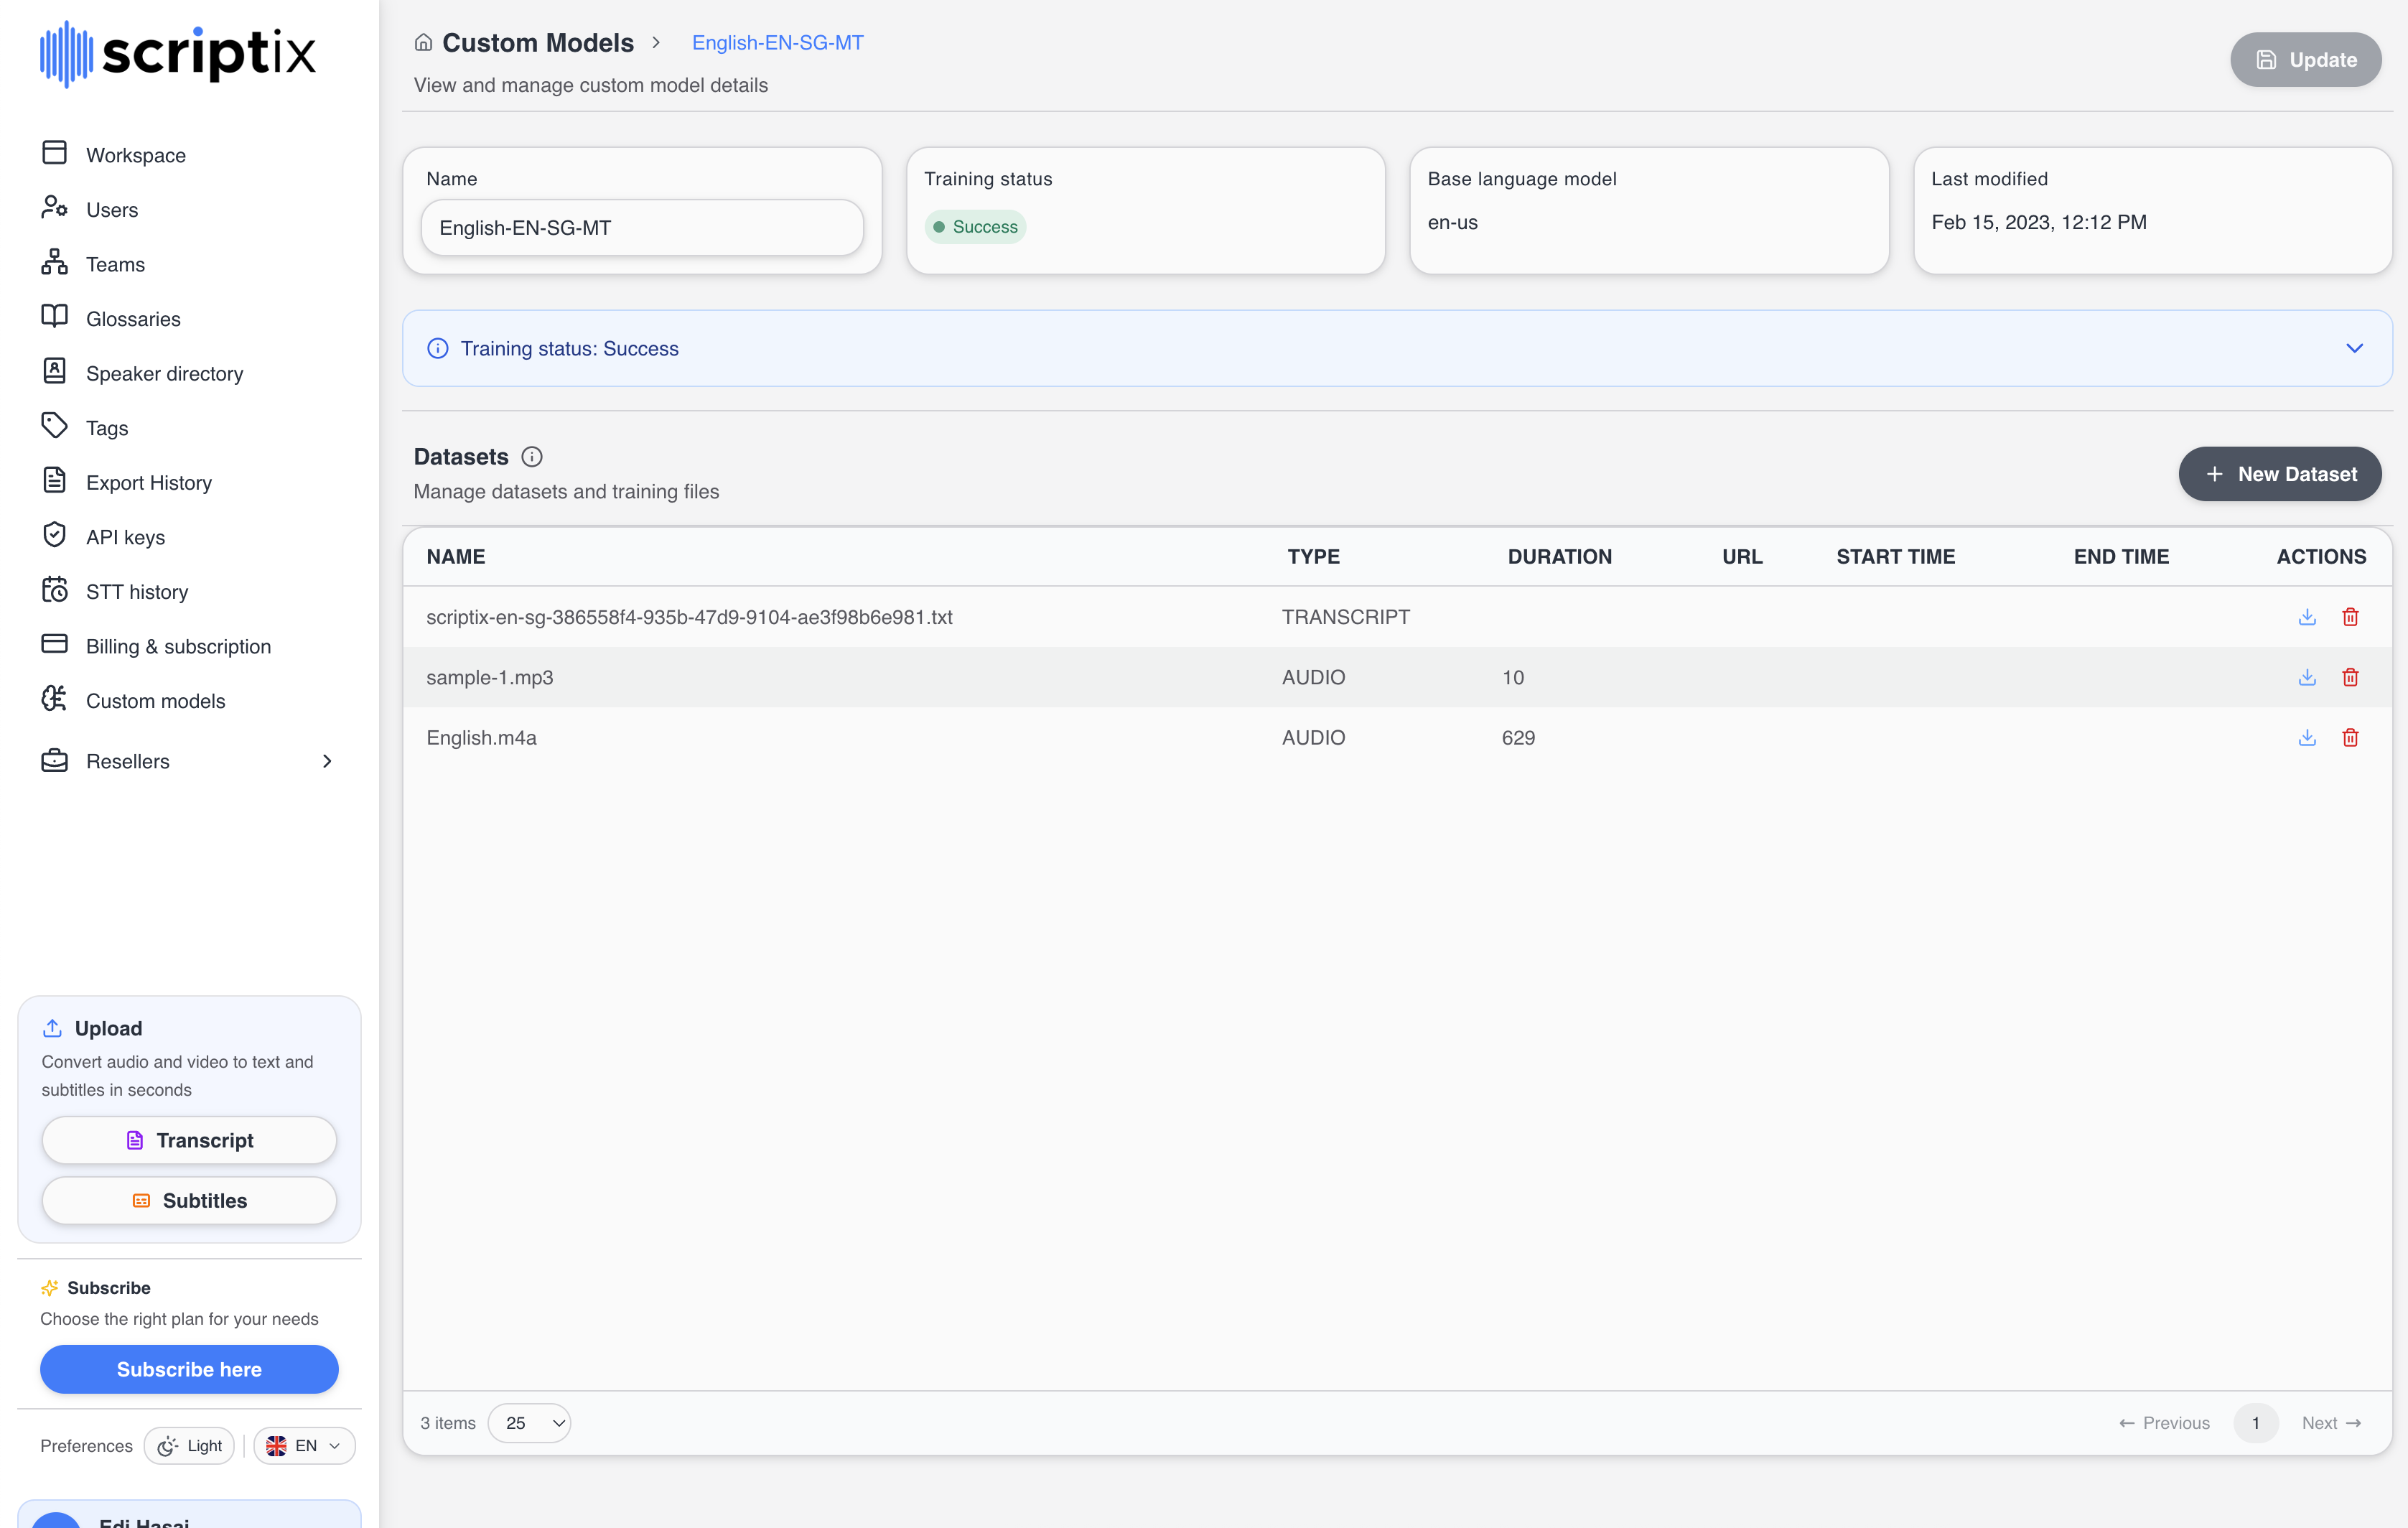 Detail page header with breadcrumbs, the four summary cards, and the status banner.
Rename
Edit the Name field inline and click Update in the page header. You'll get a Custom model updated successfully toast.
Only the name can be changed after creation - the base language is fixed.
Delete
On the list, open the row menu → Delete. A destructive confirmation dialog opens; confirm and the model and its datasets are removed. You'll see a Custom model deleted successfully toast.
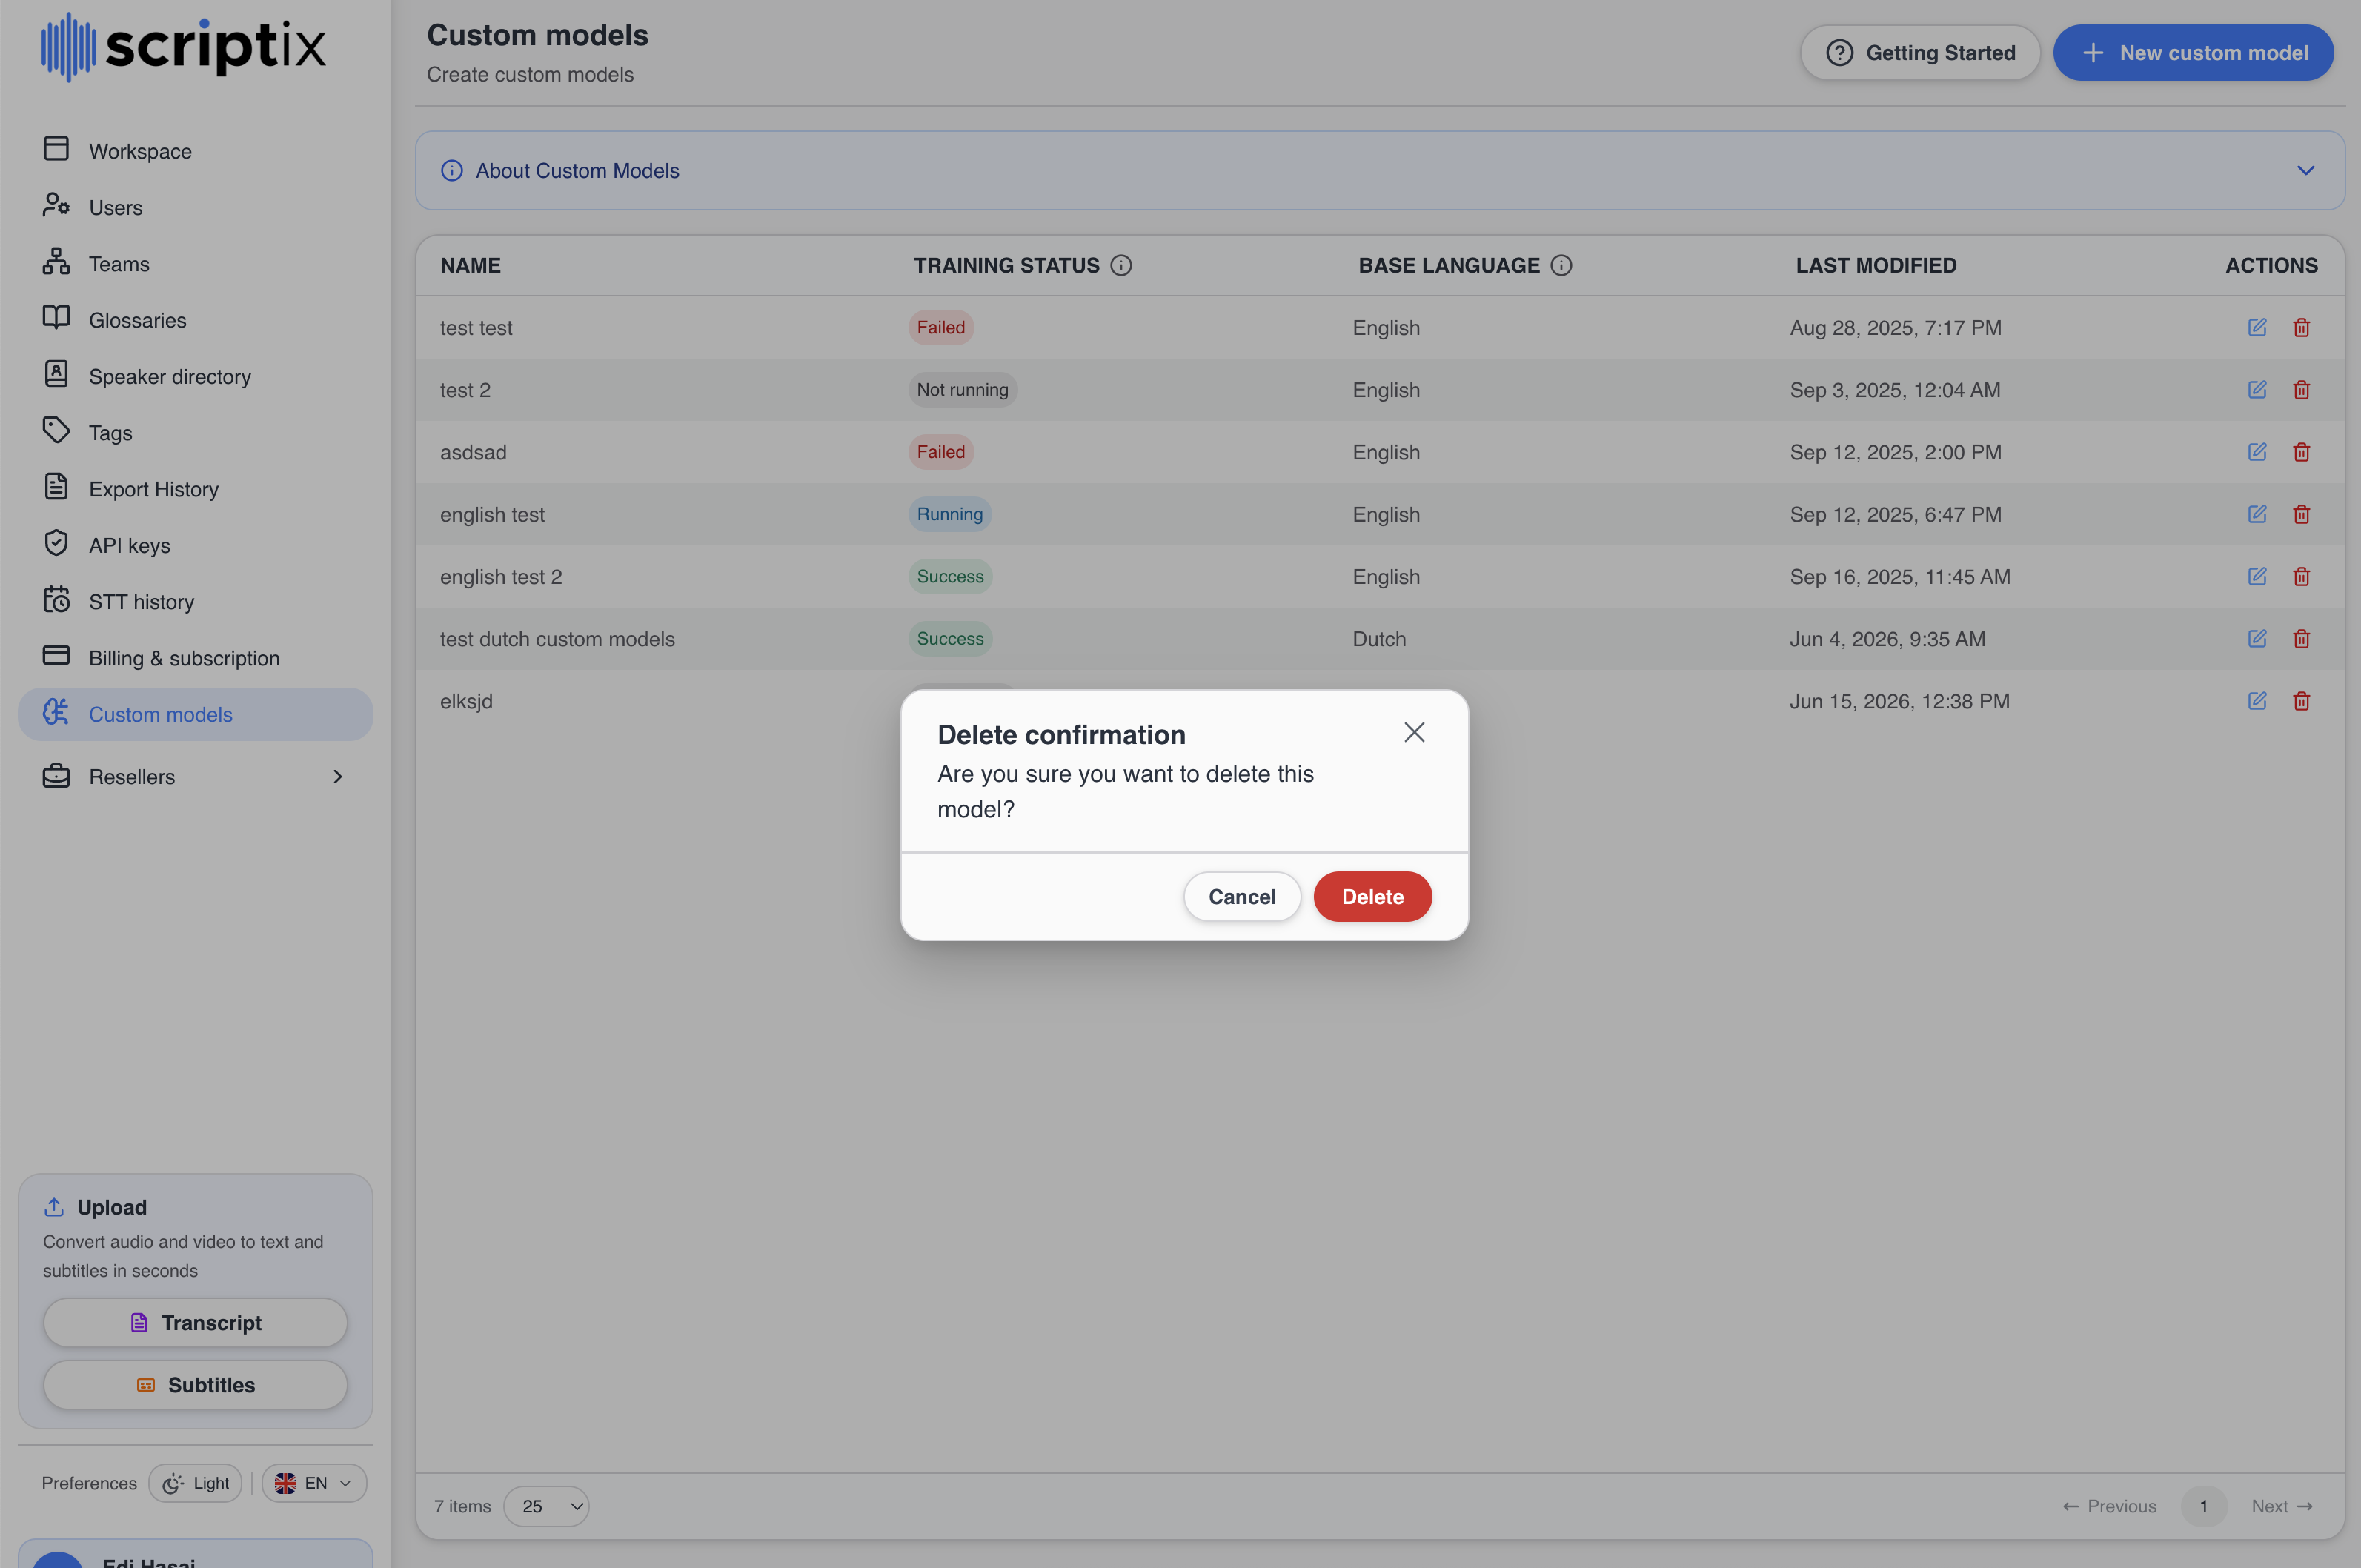 Delete confirmation - destructive, cannot be undone.
Next Steps
- Training Process - upload datasets and run training.
- Use in Transcription - pick the trained model on upload.